Diamond Mountain Golf Club
View the scorecard and hole-by-hole yardages. Explore the interactive course map. Download a free printable course map PDF and a free printable yardage book PDF. No signup required.
Diamond Mountain Golf Club course layout, yardage book, scorecard, green maps
Interactive course map
Click a hole to see its details below the map
Explore the mapped course layout at Diamond Mountain Golf Club, with all 18 holes shown. Select a mapped hole to explore its layout and available details.
Download course map PDFFree printable PDF · No signup required
Hole 1Par 4
- Tournament
- 345 yd
- Blue
- 345 yd
- Red
- 276 yd
- Blue
- 345 yd
- White
- 316 yd
- Red
- 276 yd
- Gold
- 316 yd
- Gold
- 316 yd
- White
- 316 yd
Yardage book & Green maps
Free · 17 holes · Download printable yardage book PDF
Explore 17 mapped hole layouts with tee-to-green distances in the free yardage book. View 17 green maps showing putting surface outlines and dimensions where available. No signup required.
Par 4 · 345 yds (Blue) · Handicap 17
- Green
- 22 yds deep, 21 wide · 3,200 sq ft
- Shape
- Doglegs right at 265 from the tee (79 to the green)
- Bunkers
- 1 bunker beside the green
Par 4 · 399 yds (Blue) · Handicap 5
- Green
- 39 yds deep, 32 wide · 7,100 sq ft
- Shape
- Straight
- Bunkers
- 1 bunker beside the green
Par 4 · 376 yds (Blue) · Handicap 7
- Green
- 29 yds deep, 26 wide · 4,900 sq ft
- Shape
- Straight
Par 5 · 533 yds (Blue) · Handicap 3
- Green
- 37 yds deep, 30 wide · 6,200 sq ft
- Shape
- Straight
- Bunkers
- 2 bunkers beside the green
Par 4 · 363 yds (Blue) · Handicap 13
- Green
- 38 yds deep, 21 wide · 5,300 sq ft
- Shape
- Straight
- Bunkers
- 1 bunker beside the green
Par 5 · 503 yds (Blue) · Handicap 9
- Green
- 47 yds deep, 28 wide · 5,700 sq ft
- Shape
- Straight
Par 3 · 214 yds (Blue) · Handicap 15
- Green
- 38 yds deep, 23 wide · 5,600 sq ft
- Shape
- Straight
Par 4 · 392 yds (Blue) · Handicap 1
- Green
- 24 yds deep, 19 wide · 3,200 sq ft
- Shape
- Straight
- Bunkers
- 1 bunker beside the green
Par 4 · 332 yds (Blue) · Handicap 11
- Green
- 31 yds deep, 24 wide · 5,100 sq ft
- Shape
- Straight
Par 4 · 404 yds (Blue) · Handicap 6
- Green
- 31 yds deep, 27 wide · 5,000 sq ft
- Shape
- Straight
- Bunkers
- Right: 151 to reach, 175 to carry (226 to the green)
Par 4 · 304 yds (Blue) · Handicap 14
- Green
- 18 yds deep, 20 wide · 1,800 sq ft
- Shape
- Doglegs left at 173 from the tee (109 to the green)
- Bunkers
- 1 bunker beside the green
Par 3 · 174 yds (Blue) · Handicap 16
- Green
- 33 yds deep, 22 wide · 4,500 sq ft
- Shape
- Straight
- Bunkers
- 1 bunker beside the green
Par 4 · 281 yds (Blue) · Handicap 10
- Green
- 22 yds deep, 26 wide · 3,900 sq ft
- Shape
- Doglegs right at 181 from the tee (93 to the green)
- Bunkers
- 1 bunker beside the green
Par 3 · 179 yds (Blue) · Handicap 18
- Green
- 22 yds deep, 20 wide · 3,000 sq ft
- Shape
- Straight
Par 4 · 452 yds (Blue) · Handicap 8
- Green
- 34 yds deep, 35 wide · 6,900 sq ft
- Shape
- Straight
Par 4 · 402 yds (Blue) · Handicap 2
- Green
- 28 yds deep, 24 wide · 4,200 sq ft
- Shape
- Straight
- Bunkers
- 1 bunker beside the green
Par 4 · 326 yds (Blue) · Handicap 12
- Green
- 28 yds deep, 26 wide · 4,400 sq ft
- Shape
- Straight
- Bunkers
- Left: 184 to reach, 195 to carry (117 to the green). 1 bunker beside the green
Black numbers are yards from the tee shown, orange numbers yards to the center of the green. Measured from aerial imagery and elevation surveys, so treat them as approximate.
Diamond Mountain Golf Club scorecard
View the published hole-by-hole scorecard, with par, tee yardages and handicap indexes where available. Choose your tees to plan your round.
- Total yards
- 6,413
- Par
- 72
- Course rating
- 70.1
- Slope
- 126
Front nine
| Hole | 1 | 2 | 3 | 4 | 5 | 6 | 7 | 8 | 9 | Out |
|---|---|---|---|---|---|---|---|---|---|---|
| Par | 4 | 4 | 4 | 5 | 4 | 5 | 3 | 4 | 4 | 37 |
| Yards | 345 | 399 | 376 | 533 | 363 | 503 | 169 | 392 | 302 | 3,382 |
| Blue | 345 | 399 | 376 | 533 | 363 | 503 | 214 | 392 | 332 | 3,457 |
| Red | 276 | 327 | 297 | 444 | 261 | 413 | 146 | 282 | 283 | 2,729 |
| White | 316 | 368 | 329 | 515 | 340 | 484 | 169 | 366 | 302 | 3,189 |
| Gold | 316 | 340 | 329 | 444 | 340 | 450 | 169 | 320 | 302 | 3,010 |
| Gold | 316 | 340 | 329 | 444 | 340 | 450 | 169 | 320 | 283 | 2,991 |
| Handicap | 17 | 5 | 7 | 3 | 13 | 9 | 15 | 1 | 11 | — |
Back nine
| Hole | 10 | 11 | 12 | 13 | 14 | 15 | 16 | 17 | 18 | In | Total |
|---|---|---|---|---|---|---|---|---|---|---|---|
| Par | 4 | 4 | 5 | 3 | 4 | 3 | 4 | 4 | 4 | 35 | 72 |
| Yards | 404 | 304 | 564 | 149 | 281 | 149 | 452 | 402 | 326 | 3,031 | 6,413 |
| Blue | 404 | 304 | 564 | 174 | 281 | 179 | 452 | 402 | 326 | 3,086 | 6,543 |
| Red | 336 | 245 | 489 | 118 | 223 | 133 | 384 | 325 | 252 | 2,505 | 5,234 |
| White | 379 | 277 | 532 | 149 | 254 | 149 | 411 | 383 | 295 | 2,829 | 6,018 |
| Gold | 336 | 277 | 489 | 149 | 254 | 149 | 384 | 325 | 252 | 2,615 | 5,625 |
| Gold | 336 | 277 | 489 | 149 | 254 | 149 | 384 | 325 | 295 | 2,658 | 5,649 |
| Handicap | 6 | 14 | 4 | 16 | 10 | 18 | 8 | 2 | 12 | — | — |
All distances in yards. Par and handicap reflect Tournament. A dash means we don’t have that value yet.
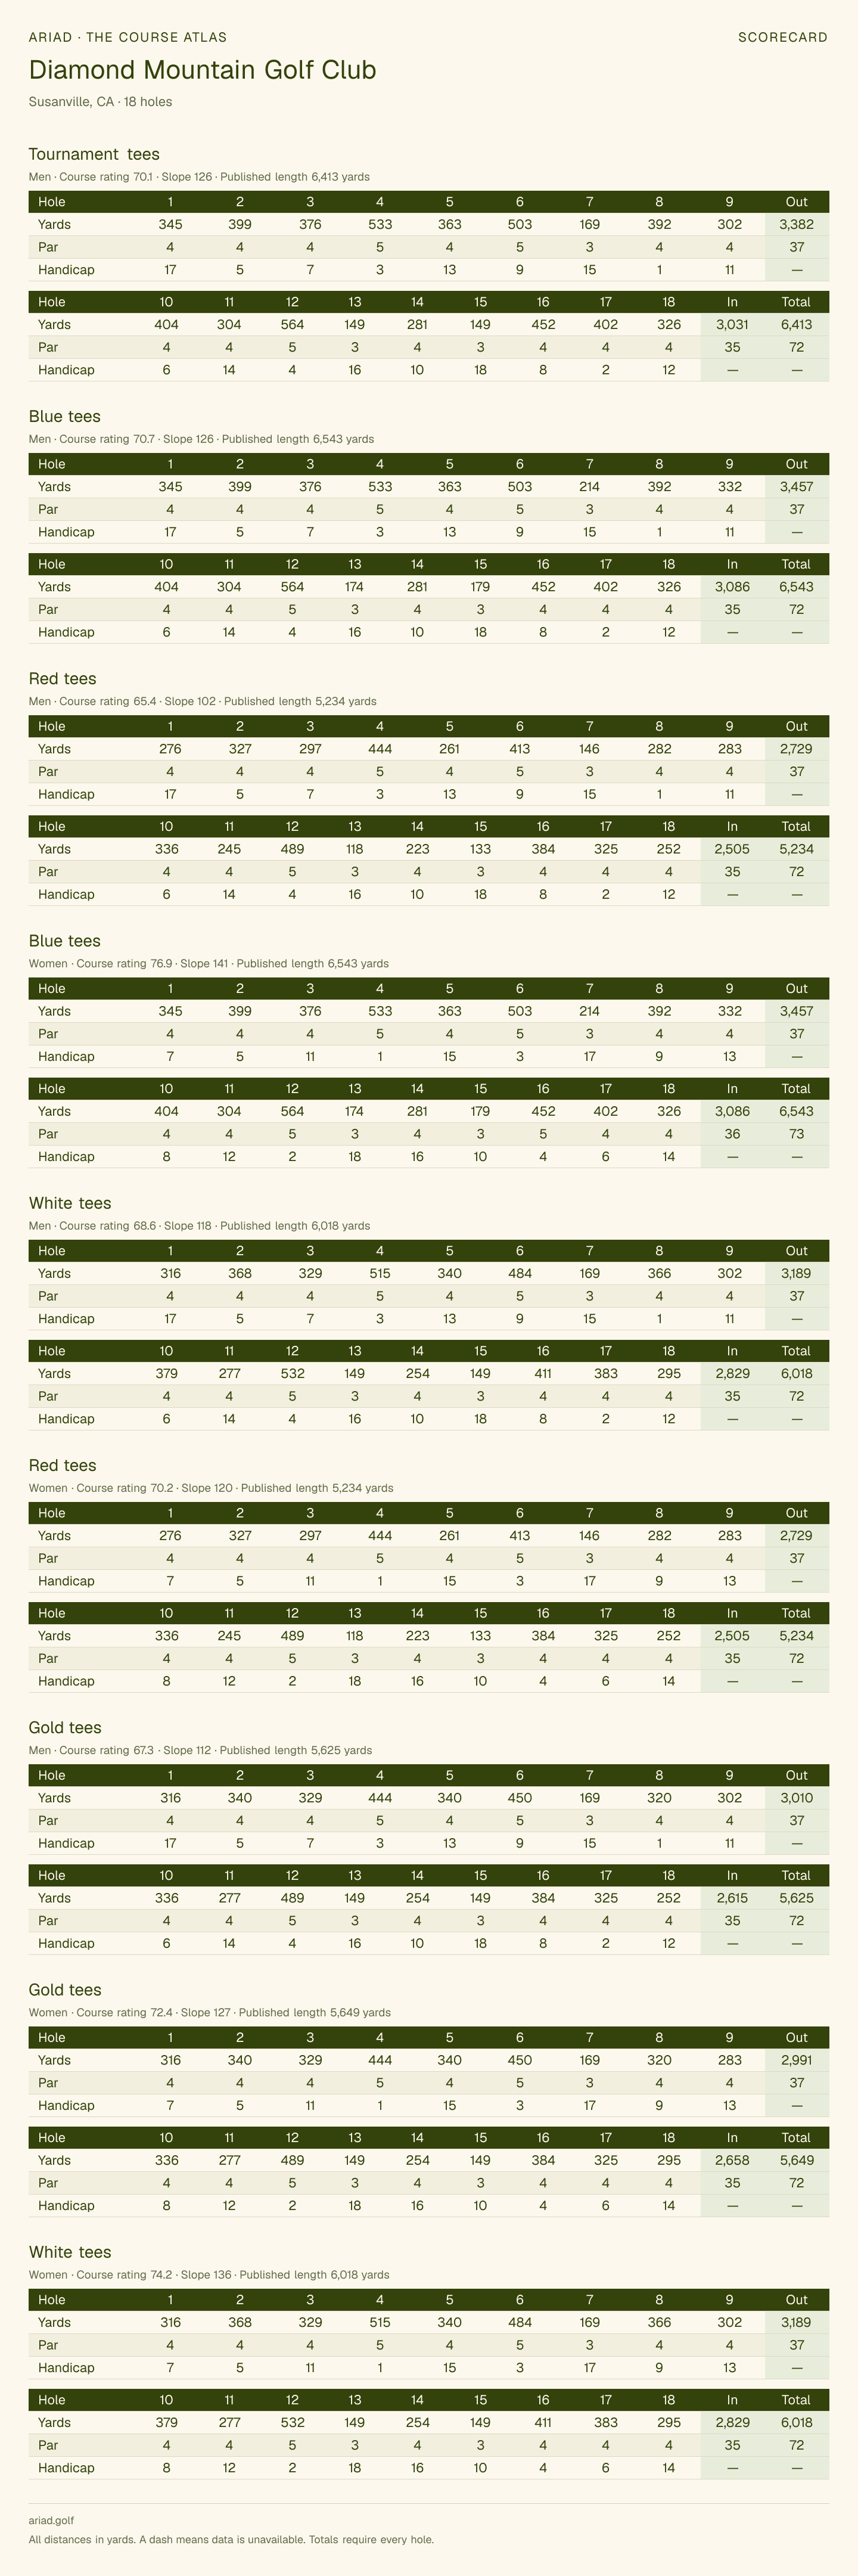 Save or print this scorecardOpen full-size image · All tees
Diamond Mountain Golf Club 3D map
About Diamond Mountain Golf Club
Diamond Mountain Golf Club is a 18-hole, par-72 golf course in Susanville, CA. The free Diamond Mountain Golf Club yardage book shows hole layouts for 17 of 18 holes, with carries from the tee and distances to the center of each green. Diamond Mountain Golf Club green maps show the mapped putting surfaces for 17 of 18 holes, with green dimensions where available. The greens average 4,700 sq ft, from 1,800 on the eleventh to 7,100 on the second. The layout has 3 par 3s, 12 par 4s, and 3 par 5s. The number-one handicap hole is the 392-yard par-4 eighth. The longest hole is the 564-yard par-5 twelfth.
Course information
- Facility
- Diamond Mountain GC
- Location
- 470-895 Circle Drive, CA, 96130Get directions
- Phone
- (530) 257-2520
Courses at Diamond Mountain GC
Choose a layout for its scorecard, tee yardages and available course map.
Questions about Diamond Mountain Golf Club
Plan your round, from the first tee to the last green.
How many holes and what par is Diamond Mountain Golf Club?
Diamond Mountain Golf Club is listed as a 18-hole course. The published scorecard totals par 72 for the Blue tees.
How long is Diamond Mountain Golf Club?
Published tee lengths at Diamond Mountain Golf Club range from 5,234 yards (Red) to 6,543 yards (Blue). Compare tee yardages.
What are the published golf ratings at Diamond Mountain Golf Club?
The Blue tees at Diamond Mountain Golf Club list a course rating of 70.7 and a slope rating of 126 for men. See the ratings by tee.
Can I download a Diamond Mountain Golf Club course map PDF?
Yes. Download the free Diamond Mountain Golf Club course map PDF in Ariad’s watercolor illustration style, with numbered mapped holes, a north arrow and a yardage scale. The map preview shows the available hole coverage.
Where can I find the Diamond Mountain Golf Club scorecard?
The Diamond Mountain Golf Club scorecard shows the published hole-by-hole details, with par, tee yardages and handicap indexes where available. You can save or print the scorecard image.
Is there a free Diamond Mountain Golf Club yardage map PDF?
Yes. Download the Diamond Mountain Golf Club yardage map PDF as a free printable yardage book. Preview the yardage maps for 17 of the 18 holes, with carries from the tee and distances to the center of the green.
Are green maps available for Diamond Mountain Golf Club?
Yes. The Diamond Mountain Golf Club green maps show mapped putting surface outlines for 17 of the 18 holes, with dimensions where available. Slope arrows and heatmaps appear where a green has usable elevation survey data.
Take it to
the first tee.
Ariad is golf GPS, shot tracking and 3D round replays for iPhone and Apple Watch, on the same course maps as this page.
Join the waitlist for launch updates. Screens from Ariad on iPhone and Apple Watch.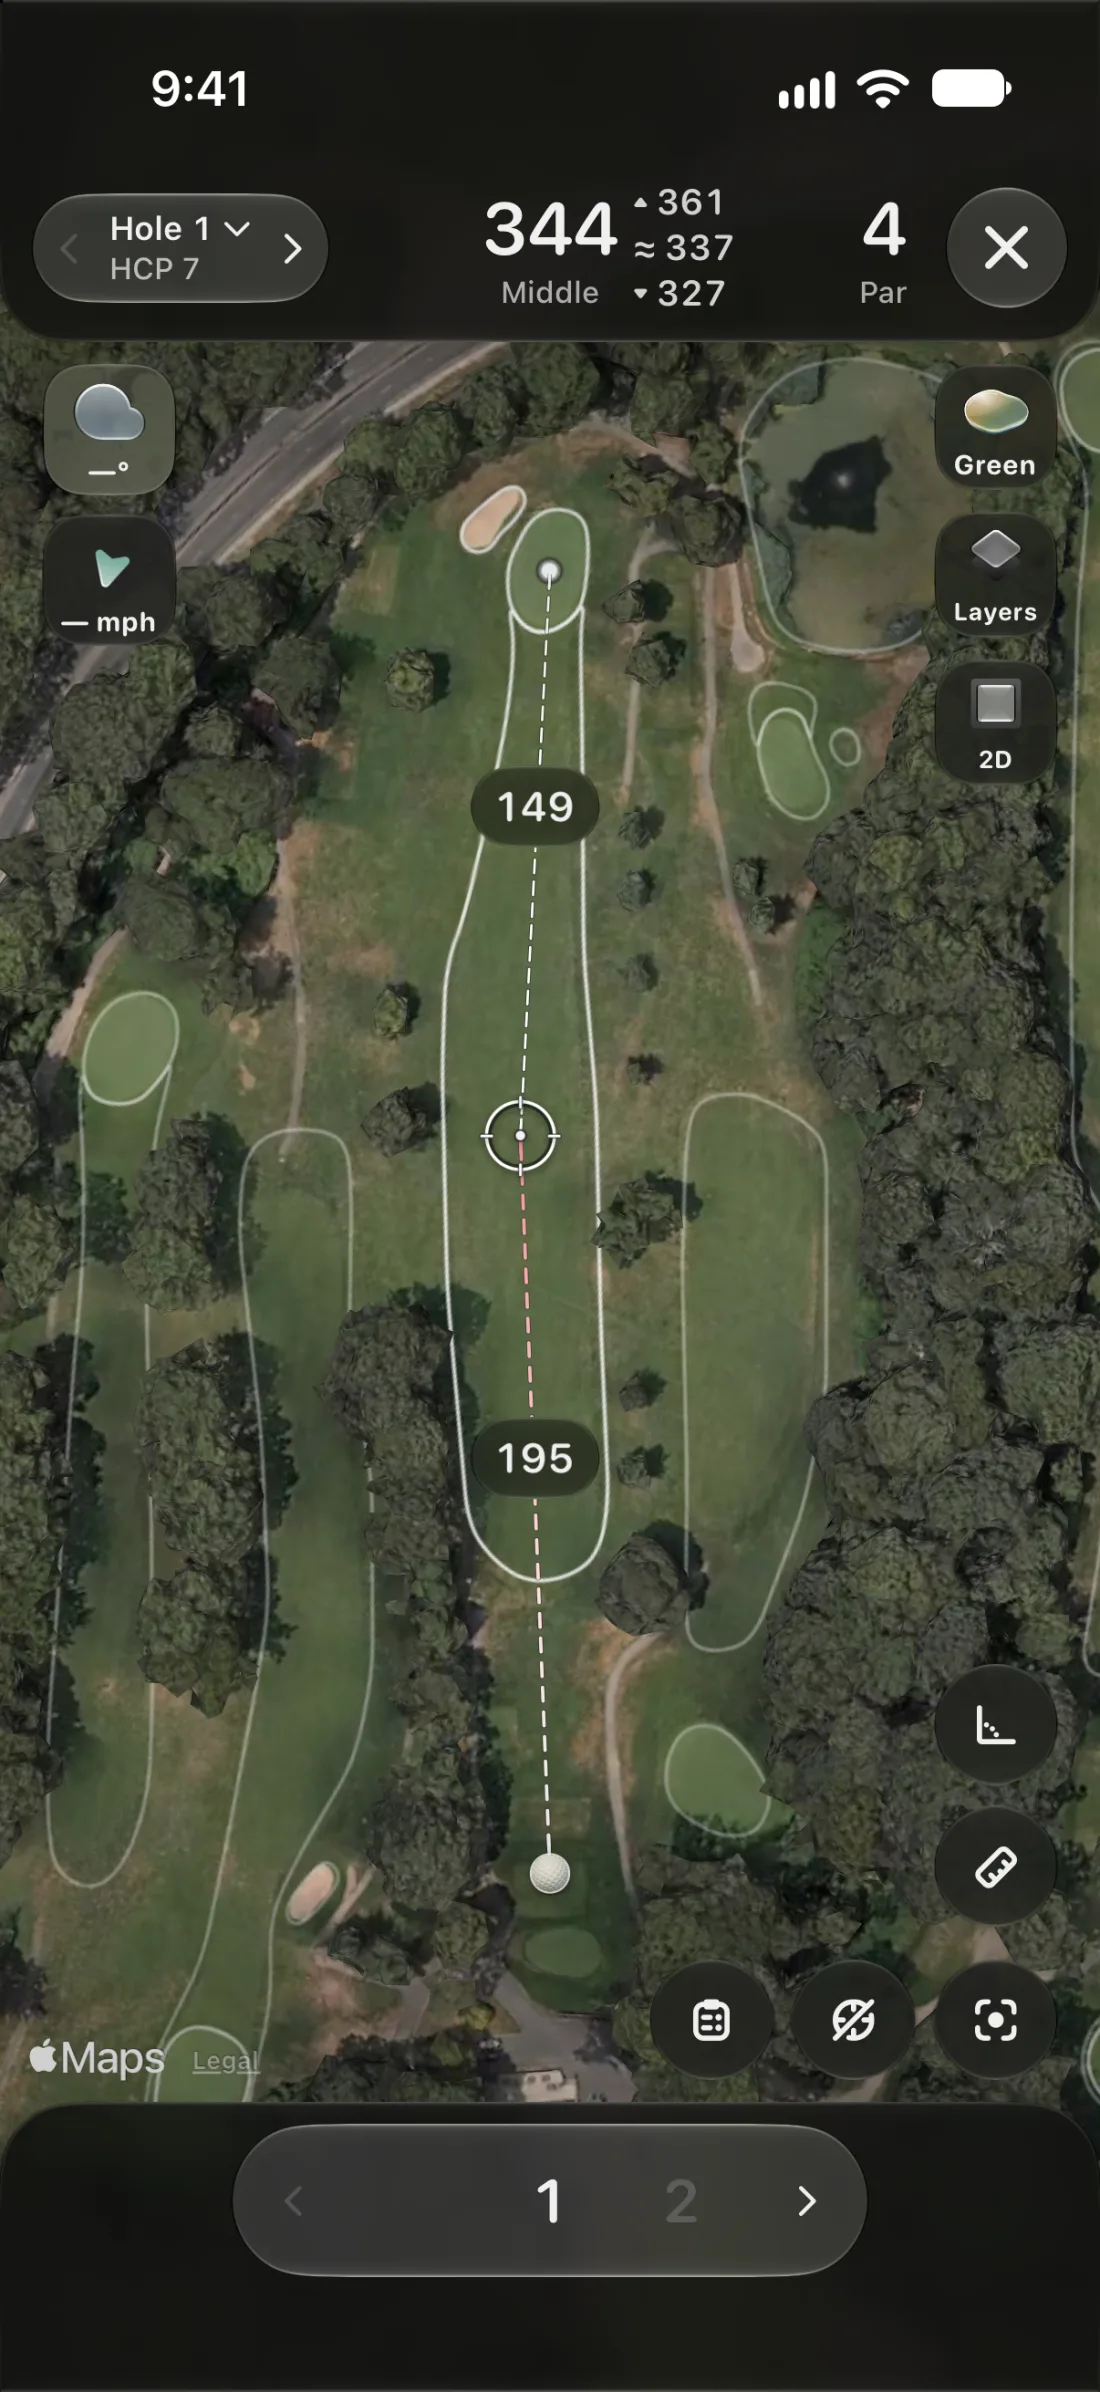 GPS
Every yardage, live.
Front, middle and back of the green, and the distance to any spot you tap, on a satellite map of the hole you’re playing.
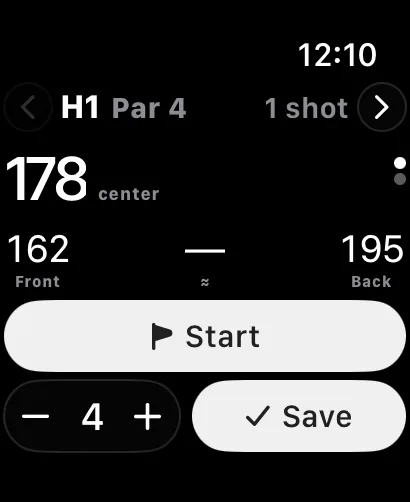 SHOT TRACKING
Mark it and walk on.
Tap where the ball finished and Ariad measures the shot. On Apple Watch it notices your swings, so the round keeps itself.
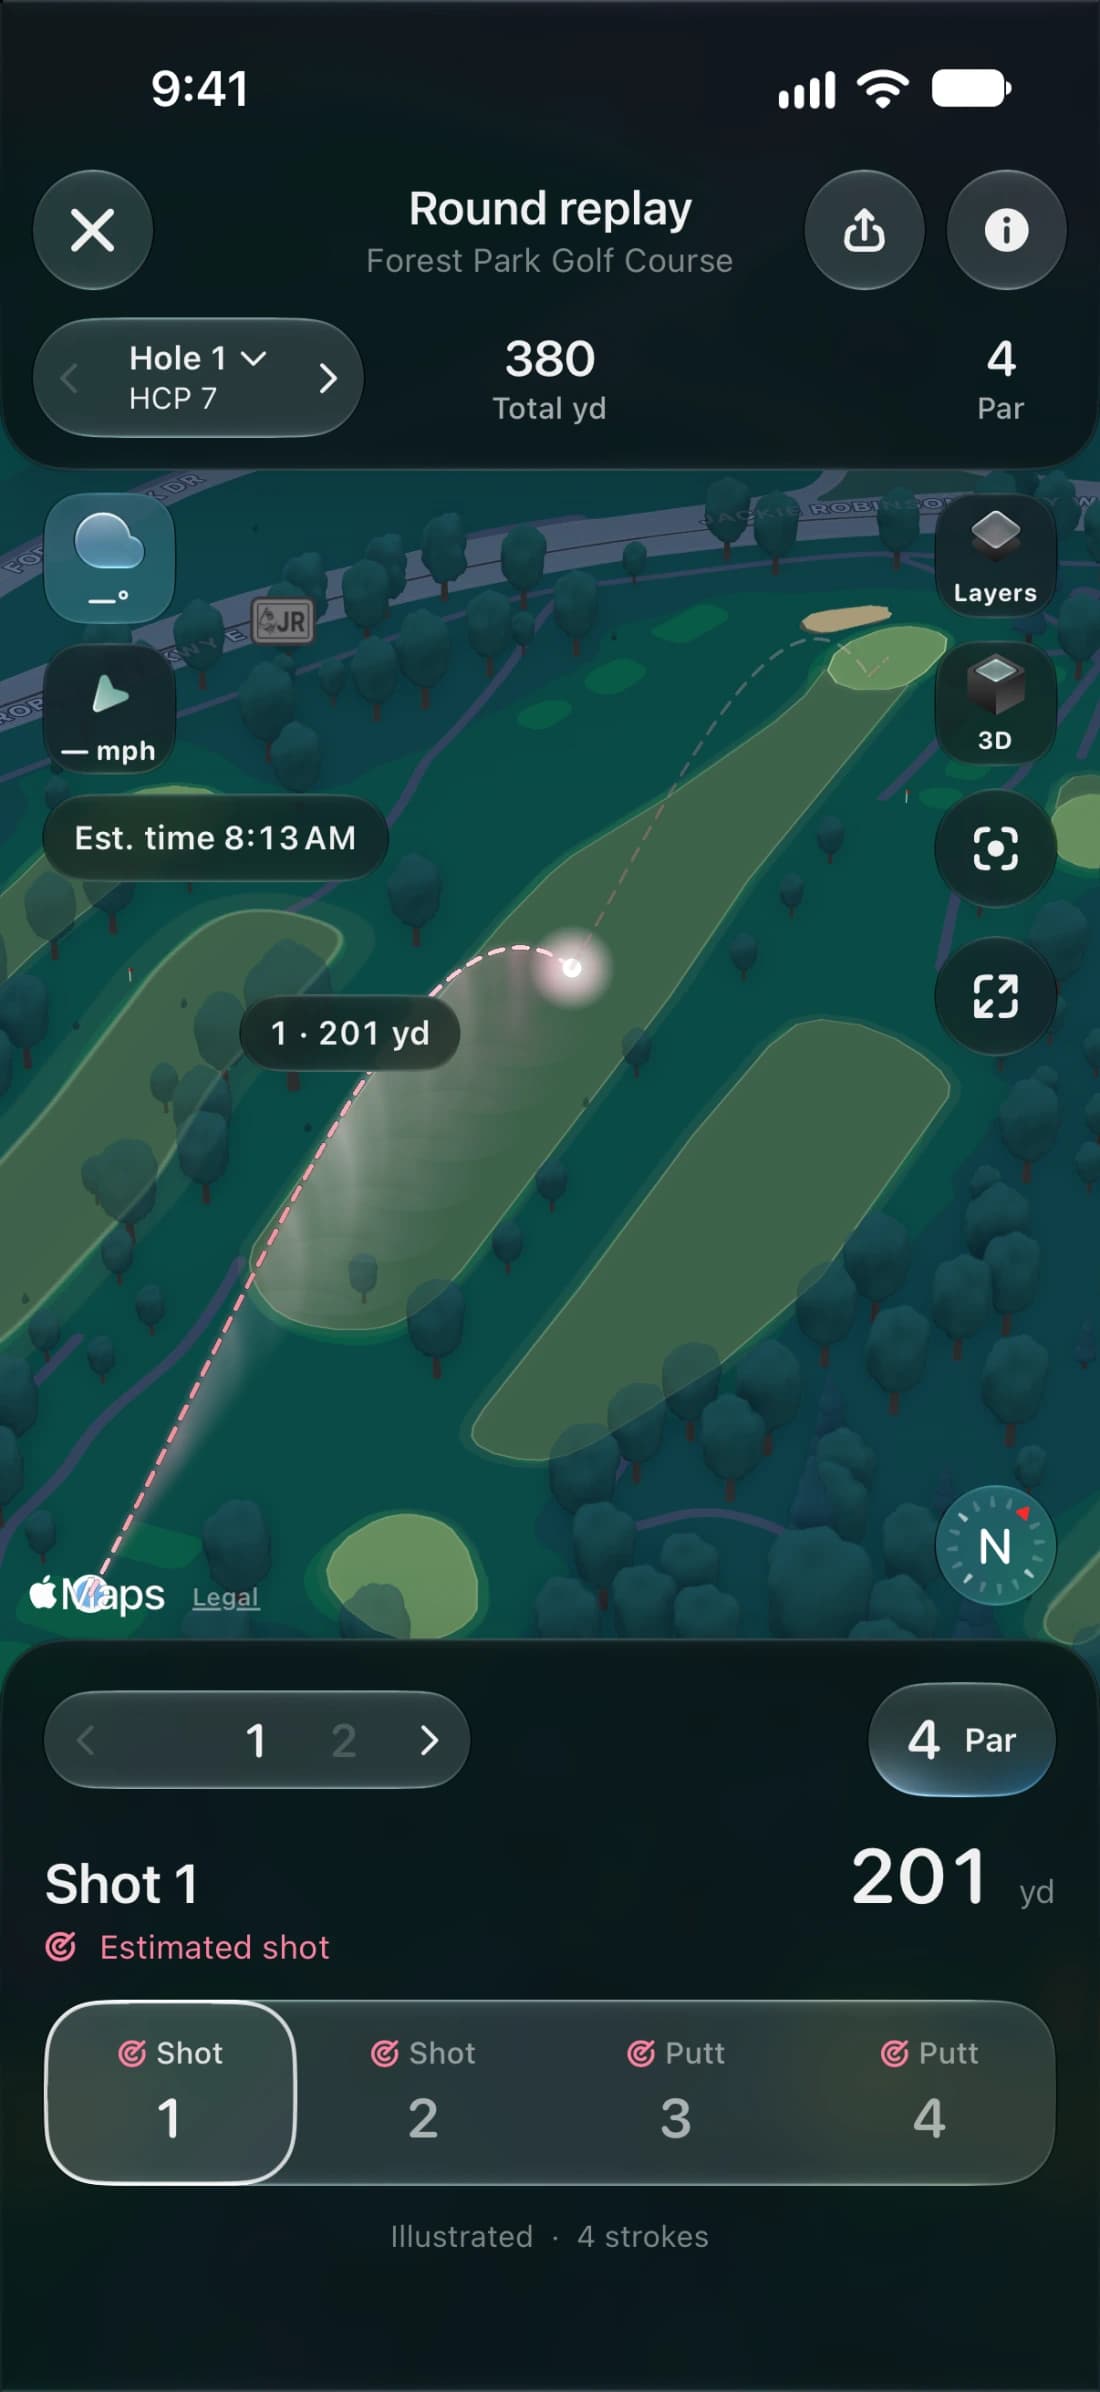 3D REPLAYS
Fly the round back.
After the last putt, every hole comes back in 3D on real terrain, with each shot’s arc from the tee to the cup.
 9 holes
Mount Huff Golf Course
Scorecard & map 18 holes
Bailey Creek Golf Course
Scorecard & map 9 holes
Lake Almanor Country Club
Scorecard & map 9 holes
Lake Almanor West Golf Course
Scorecard & map 18 holes
Grizzly Ranch Golf Club
Scorecard & map 18 holes
Plumas Pines Golf Resort
Scorecard & map 9 holes
Feather River Inn
Scorecard & map 9 holes
Feather River Park Resort
Scorecard & map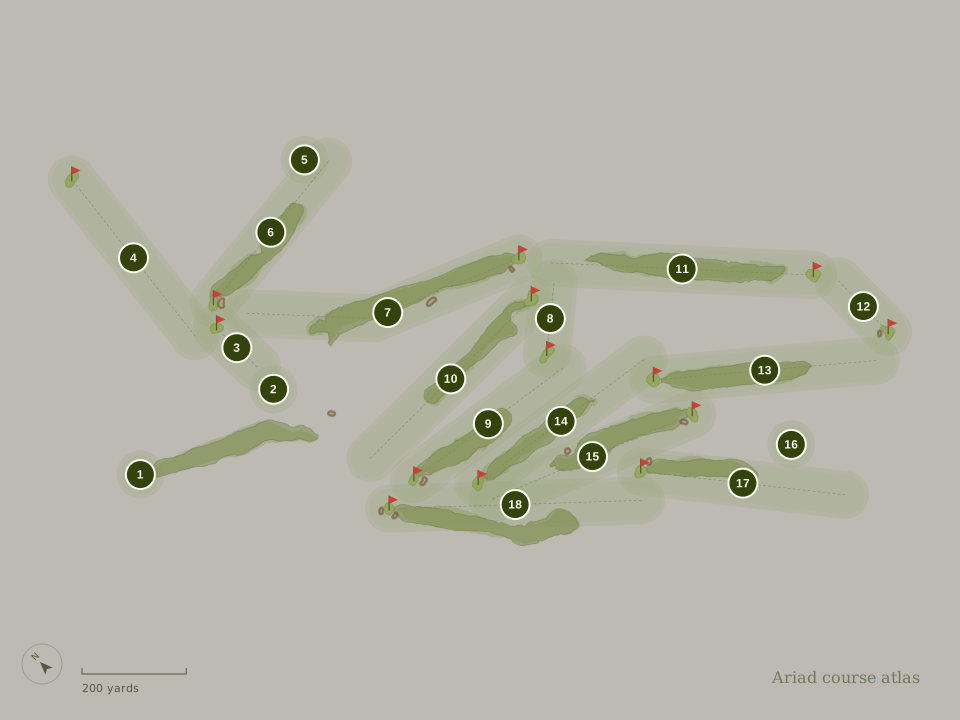 18 holes